September Messenger Bags
See the original post HERE.
Reversible Messenger Bag
Materials:
FABRIC A
·
Main body: (2) 14” x 12”
·
Flap: (1) 12” x 11.5”
·
Back Pocket: (1) 14” x 8”
·
Strap: (1) 6” x 42”
FABRIC B
·
Main body: (2) 14” x 12”
·
Flap: (1) 12” x 11.5”
·
Back Pocket: (1) 14” x 8”
·
Small Pocket: (1) 7” x 12”
*It really helps if
you iron out all your pieces beforehand. Keep the iron close during this
project because you will need it a few more times. Also, using a small piece of
paper or sticky note, label each piece and pin the paper on the material with a
straight pin so you can keep track of your pieces. The original instructions
also included the use of interfacing fabric which is something to make your
material more sturdy and stand up more easily. This is just a personal
preference. My fabric was pretty stiff already so I didn’t use it.
INSTRUCTIONS
(You’ll see the
picture and the instructions underneath)
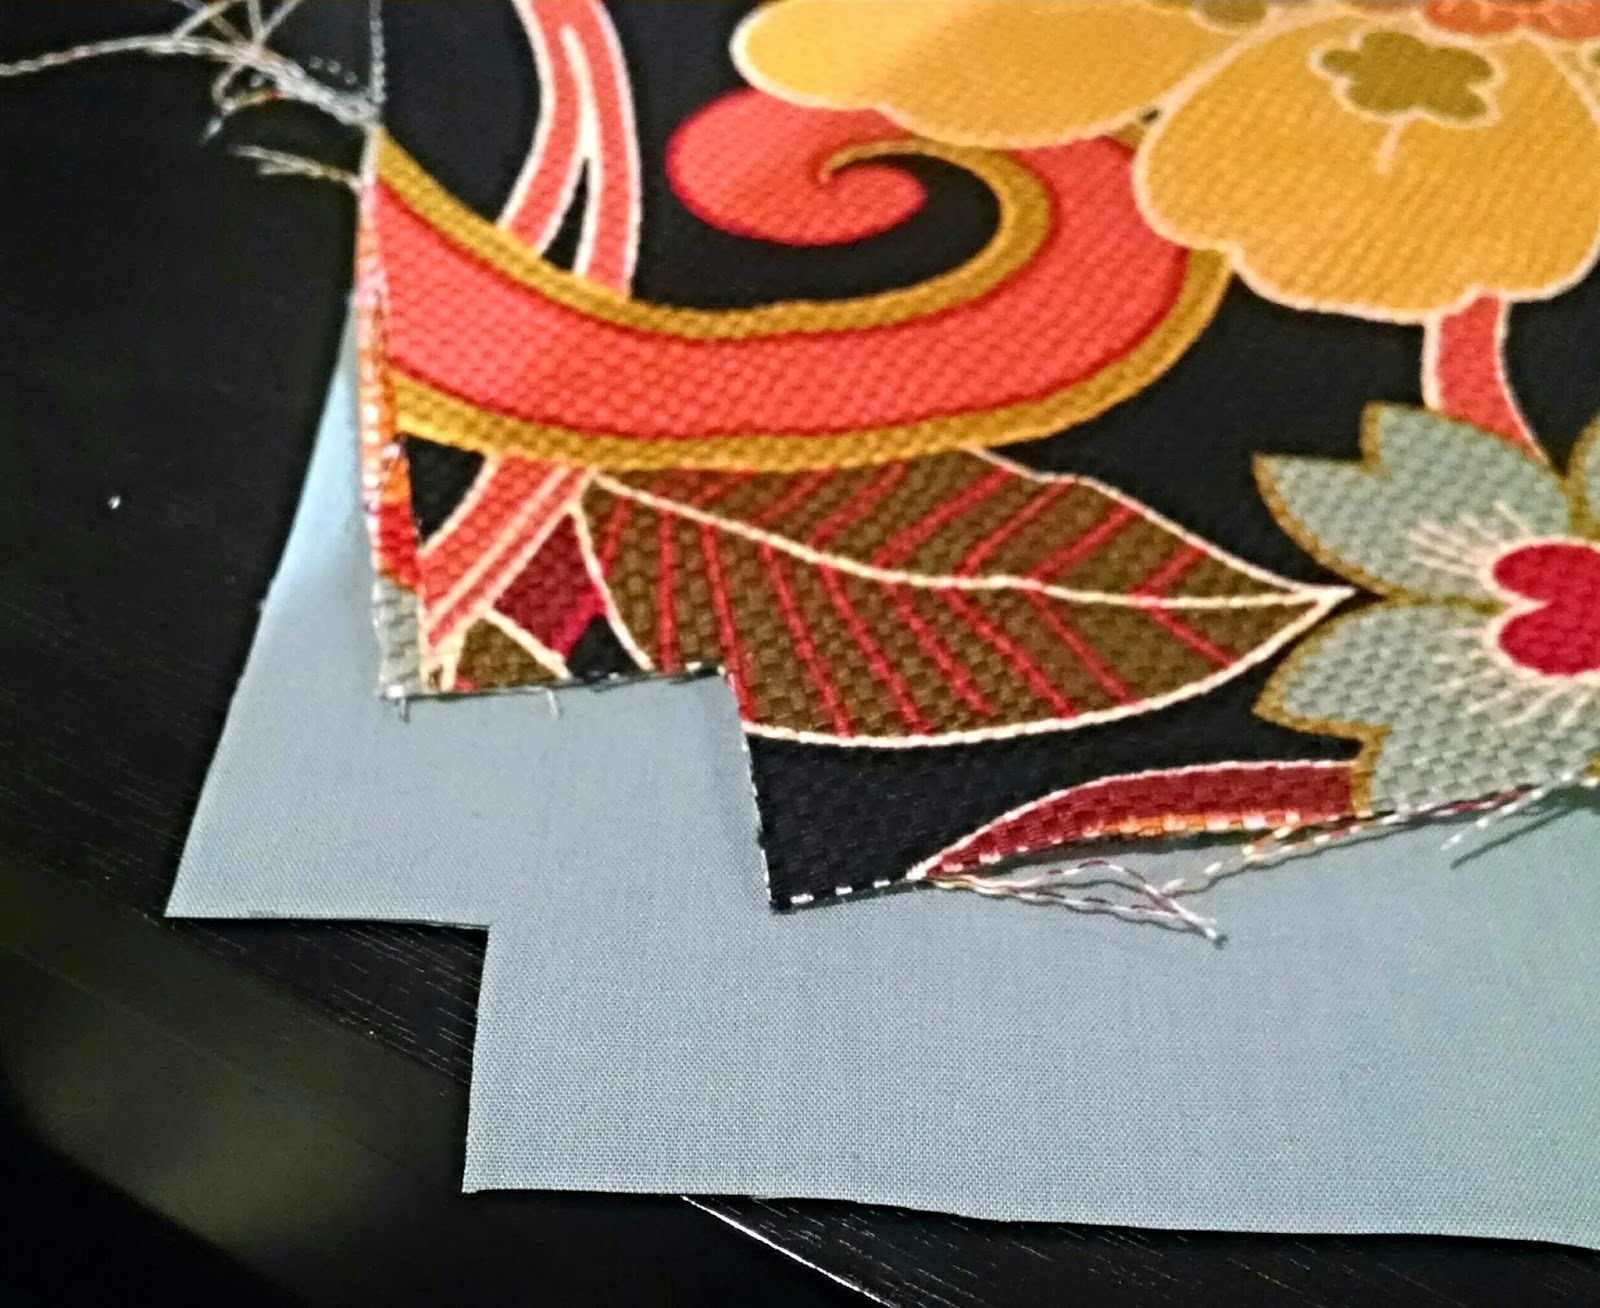
On the four main body pieces cut a 1” square out of the
bottom corners. In the pictures I made the bag taller and skinnier rather than
shorter and wider which means I cut the corners on the shorter end. Depending
on how you like your bag will determine which corners you need to cut. The
measurements for the back pocket are for a bag that’s going to be shorter and
wider. If you want it tall like mine, I’ll show you how to still make it work
with the same measurements.

Take your strap piece and fold/iron both sides towards the
middle.


Fold in half and iron. Stitch along both sides. Set aside.


Take your two flap pieces and round the two bottom edges. A
bowl is a good guide. If you trace make sure your right sides are together.
Again, I made my bag taller so the flap pieces are taller. If your bag is going
to be shorter, then make sure the rounded corners on the flap are on the
correct sides.

With right sides together sew both sides and the bottom but
leave the top open. Clip the curves so when you turn it inside out, the curved
edges are smoother and less bulkier. Turn right side out and iron flat.
I didn’t get a picture of some of the next steps
for some reason but I made an illustration that should help as well.

Take your two back pocket pieces. With right sides together,
sew across top and bottom, leaving the sides open.


Turn right side out and topstitch the top and bottom.

Place this back pocket piece on one of the main fabric
pieces as seen in the picture. Stitch two lines across the bottom of the back pocket.

Take your small pocket piece and fold it in half short ways
(it should now be 7” x 6”) with the right sides together. Sew all four sides
but leave a small gap for turning. Turn right side out. Top stitch across the
top of the small pocket.

Sew small pocket to the middle of one of the main body
pieces. (Sorry for the humongous shadow. That’s just my sewing machine).

Take the two remaining main body pieces and with right sides
together, sew along both sides and bottom. Do not sew around the squares you
cut out of the bottom. Repeat with the other main body pieces (these are the
pieces with the pockets on them).

Remember on the main body pieces how you cut squares in the
corner? That’s going to allow you to sew the bag closed so that you’ll have a
flat bottom to the bag. To do this, you need to take one main body piece, open
it up, and make the bottom seam line up with the side seam. It’ll look like a
pyramid with a flat top. Sew a seam across.

Do this for all main body pieces. Your corner will look like
this when you turn it right side out.


Turn the main body piece with the back pocket right side
out.


Take your flap piece and pin it so the right side is down
and edges are lined up. Baste flap to bag. Basting is a quick and temporary
seam you can easily sew by hand. It’s just to hold something in place until you
put a seam in later. It’s better than using straight pins because a seam is
more flexible than the metal pins. You’ll need the flexibility as you start to
assemble your bag in the next few steps.

Baste your strap onto the bag.

|

Sew around the top of the bag but leave a gap so you can
turn it inside out. The gap should be on the same side as the small pocket
(opposite side of the flap). I used a couple of straight pins to mark where I
wanted the gap to be so I wouldn’t forget. When you’re done sewing around the
top, turn the bag right side out. Push the inner lining back inside the main
body.

Pin the gap shut.

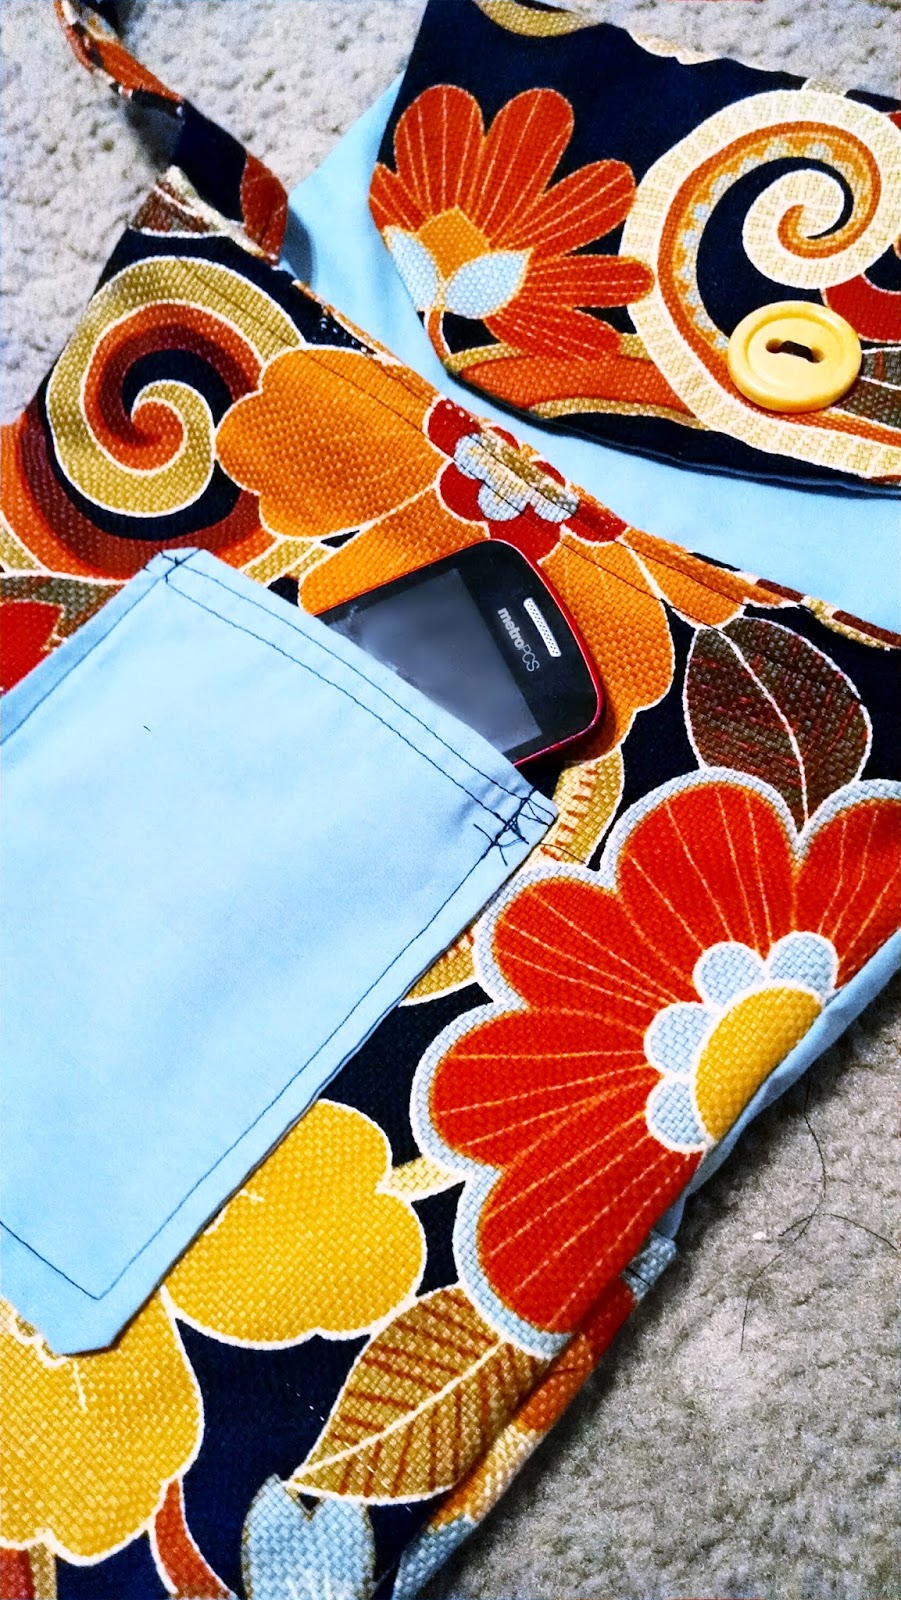
FRONT

BACK
Topstitch all the way around the opening of the bag. I did
two lines just to make it more secure. I also added a button for decoration.

Voila! Now here's a ton of photos I took!


Comments
Post a Comment